This is an idea that has been percolating in my head for awhile now. I have a son who
LoVeS Tic
Tac Toe. Yes, we can use a pencil and paper, but why not craft up a portable Tic
Tac Toe board? I love the crayon roll-ups I've made and so a Tic
Tac Toe Roll-Up seemed both easy and logical - my son is very, very happy!

Want to make one too? Here's how it works:
Tic Tac Toe Roll-Up
Materials:
One 9 1/2" x 14" piece of fabric for the back
One 9 1/2" x 14" piece of fabric for the inside
One 5 1/2" x 6 1/2" piece of fabric for the inside pocket
One 2 3/4" x 6 1/2 " piece of iron-on interfacing
One square of black felt
Scraps of felt (two colors)
Heat and bond (a small piece will do - I prefer the heavy weight)
Button
Hair elastic
Instructions: 1. Cut your fabric pieces and interfacing as stated above .

2. From your square of black felt, cut four 1/2" strips the width of the square. On the paper side of your heat and bond, draw five "O"'s and five "X"'s. I cheated and used a large font I like and traced them. Iron all of the
O's on one color of felt and the X's on the other color of felt. Cut the letters out on the lines.


3. Peel the paper off from the letters and now iron them on to the black felt. Cut them out leaving a 1/8" black edge on each letter. Set the letters aside for later.

4. Iron your interfacing to the wrong side of half of your pocket piece. This is just to give it a little extra stability for all those little hands taking the pieces in and out of the pocket.

5. With right sides together, fold the pocket in half along the long sides (like a hot dog - teachers, you know what I mean :-)). Using a 1/4" seam, sew down one short side of the pocket and part way along the bottom.
Backstitch and then with your needle up, move the pocket about 2" down and pick up sewing again along the rest of the bottom and up the remaining short side. Basically we're using the fold for the top of the pocket and sewing up the other three sides, leaving a small opening in the bottom for turning. Clip the two bottom corners and turn
right side out. Press flat, being sure that the unsewn seam of your opening lines up evenly.

6. Top stitch along the top edge of the pocket.

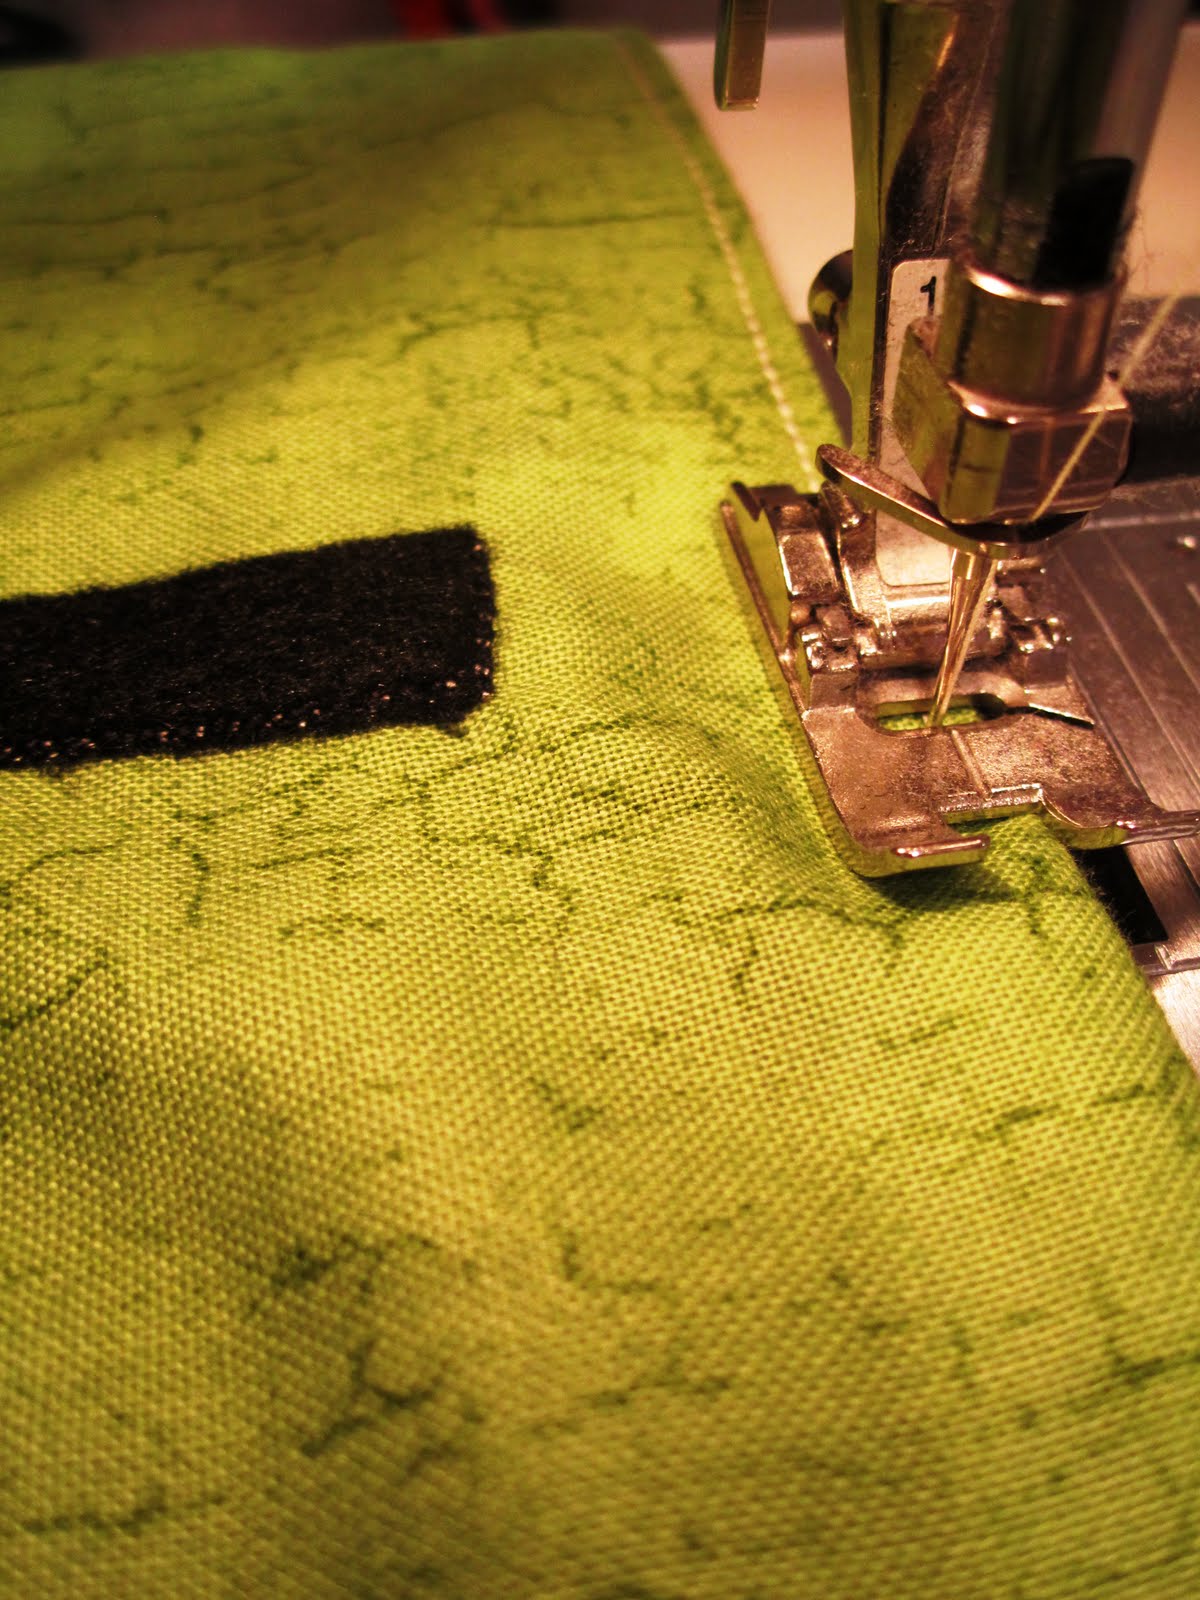
7. Now sew the pocket on to the inside fabric along the shorts sides and bottom. Be careful to sew the opening down so that it catches the seam, in effect sewing that opening closed. I centered the pocket about 1 1/2" up from the bottom of the fabric.

8. Now place your black felt strips up on the top part of the inside fabric. Find the center and then move the
strips around until you have the spacing you like. I centered my
strips 1 1/4" in from each edge and left about a 1 1/4" space from the top of the pocket. Trim the felt strips as needed. Using black thread, sew the strips down along each of the four sides. Hint - pin your felt well and remove the pins as you sew so that the felt doesn't move or stretch or you sew.

9. This is what you should have now.

10. Pin your hair elastic at the center of the top - be sure that the big part of the loop lies toward the center of the fabric. With right sides together put the inside and outer fabrics together. Sew using 1/2" seam allowances along all outer edges leaving a 3" opening at the center bottom. Be sure to
backstitch over the elastic (quite a few times).

11. Clip the corners off and turn
right side out. Use chopsticks or another device to get your corners sharp. Iron flat and be sure your opening gets pinned closed so that the edges are even.

12. Top stitch all the way around, being sure to catch the opening and sew it closed. Just for good measure, I
backstitched another couple of times over the elastic.

13. Roll up the game board and figure out where your button should be. Sew it on as you marked.


 The flower was fun to work up and create. I think I'm going to try machine quilting this one on my own. I've been working on piecing the back this afternoon. More to come!


 And then I found this fabric bookmark over at
  And another similar variation from

 In big news though - my flower containers, flower beds, and garden are all turned, composted, AND planted! Ya hoo!
 Great idea - wish I had thought of it! Glad I have one to use from here on out. Even for my own birthday!
 We'll be going back through all of our medical records and recording the boy's heights at various times throughout the past years. And we'll start marking their heights this week on son #2's third birthday. The boy's are so excited!

 I wanted to try my hand at copying it - as best I could. I've been searching for weeks for beads to even come close to it. The large one on the right middle part of their necklace was impossible to even kind-of duplicate - it was my favorite too. And I couldn't find any crystal clasps (for a single strand of beads) that I liked either. So this imitation will have to do. I do quite like how it turned out! My version is about 19 inches -
  I think it looks best on. Most jewelry does. Love it!


 14. Add your "X"'s and "O"'s and off you go.


 And the cannon - Boom!
 And the treasure chest. The pattern called for little pieces of colored felt to represent the jewels. But I knew that I had seen colored jewels at the craft store so I hot-glued a nice variety inside the chest.
 The pirate ship.
 A parrot - a pirate's best friend.
 And the back of the book.
 So while I was making one, why not just make a second at the same time. Give one away - keep one for my boys. Here is our version. I ran out of pirate scraps so I did have to run out and find some cute pirate fabric for the front and back of ours.
  They really are very cute. Mostly touch and feel - the pages don't really "do" anything. But I love it - we will be testing it out at church tomorrow. Everyday Celebrations did a nice job creating this one. She has some holiday books and other themed small quiet books I'll be trying.


