A quick print, a stop at the store to laminate all of the cards and pieces, and now we have a really fun (and cute) game. The boys love it!


 Want to make one too? Here's how it works:
  2. From your square of black felt, cut four 1/2" strips the width of the square. On the paper side of your heat and bond, draw five "O"'s and five "X"'s. I cheated and used a large font I like and traced them. Iron all of the O's on one color of felt and the X's on the other color of felt. Cut the letters out on the lines.
 3. Peel the paper off from the letters and now iron them on to the black felt. Cut them out leaving a 1/8" black edge on each letter. Set the letters aside for later.
 4. Iron your interfacing to the wrong side of half of your pocket piece. This is just to give it a little extra stability for all those little hands taking the pieces in and out of the pocket.
  5. With right sides together, fold the pocket in half along the long sides (like a hot dog - teachers, you know what I mean :-)). Using a 1/4" seam, sew down one short side of the pocket and part way along the bottom. Backstitch and then with your needle up, move the pocket about 2" down and pick up sewing again along the rest of the bottom and up the remaining short side. Basically we're using the fold for the top of the pocket and sewing up the other three sides, leaving a small opening in the bottom for turning. Clip the two bottom corners and turn right side out. Press flat, being sure that the unsewn seam of your opening lines up evenly.
  6. Top stitch along the top edge of the pocket.
  7. Now sew the pocket on to the inside fabric along the shorts sides and bottom. Be careful to sew the opening down so that it catches the seam, in effect sewing that opening closed. I centered the pocket about 1 1/2" up from the bottom of the fabric.
  8. Now place your black felt strips up on the top part of the inside fabric. Find the center and then move the strips around until you have the spacing you like. I centered my strips 1 1/4" in from each edge and left about a 1 1/4" space from the top of the pocket. Trim the felt strips as needed. Using black thread, sew the strips down along each of the four sides. Hint - pin your felt well and remove the pins as you sew so that the felt doesn't move or stretch or you sew.
  9. This is what you should have now.
  10. Pin your hair elastic at the center of the top - be sure that the big part of the loop lies toward the center of the fabric. With right sides together put the inside and outer fabrics together. Sew using 1/2" seam allowances along all outer edges leaving a 3" opening at the center bottom. Be sure to backstitch over the elastic (quite a few times).
  11. Clip the corners off and turn right side out. Use chopsticks or another device to get your corners sharp. Iron flat and be sure your opening gets pinned closed so that the edges are even.
  12. Top stitch all the way around, being sure to catch the opening and sew it closed. Just for good measure, I backstitched another couple of times over the elastic.
 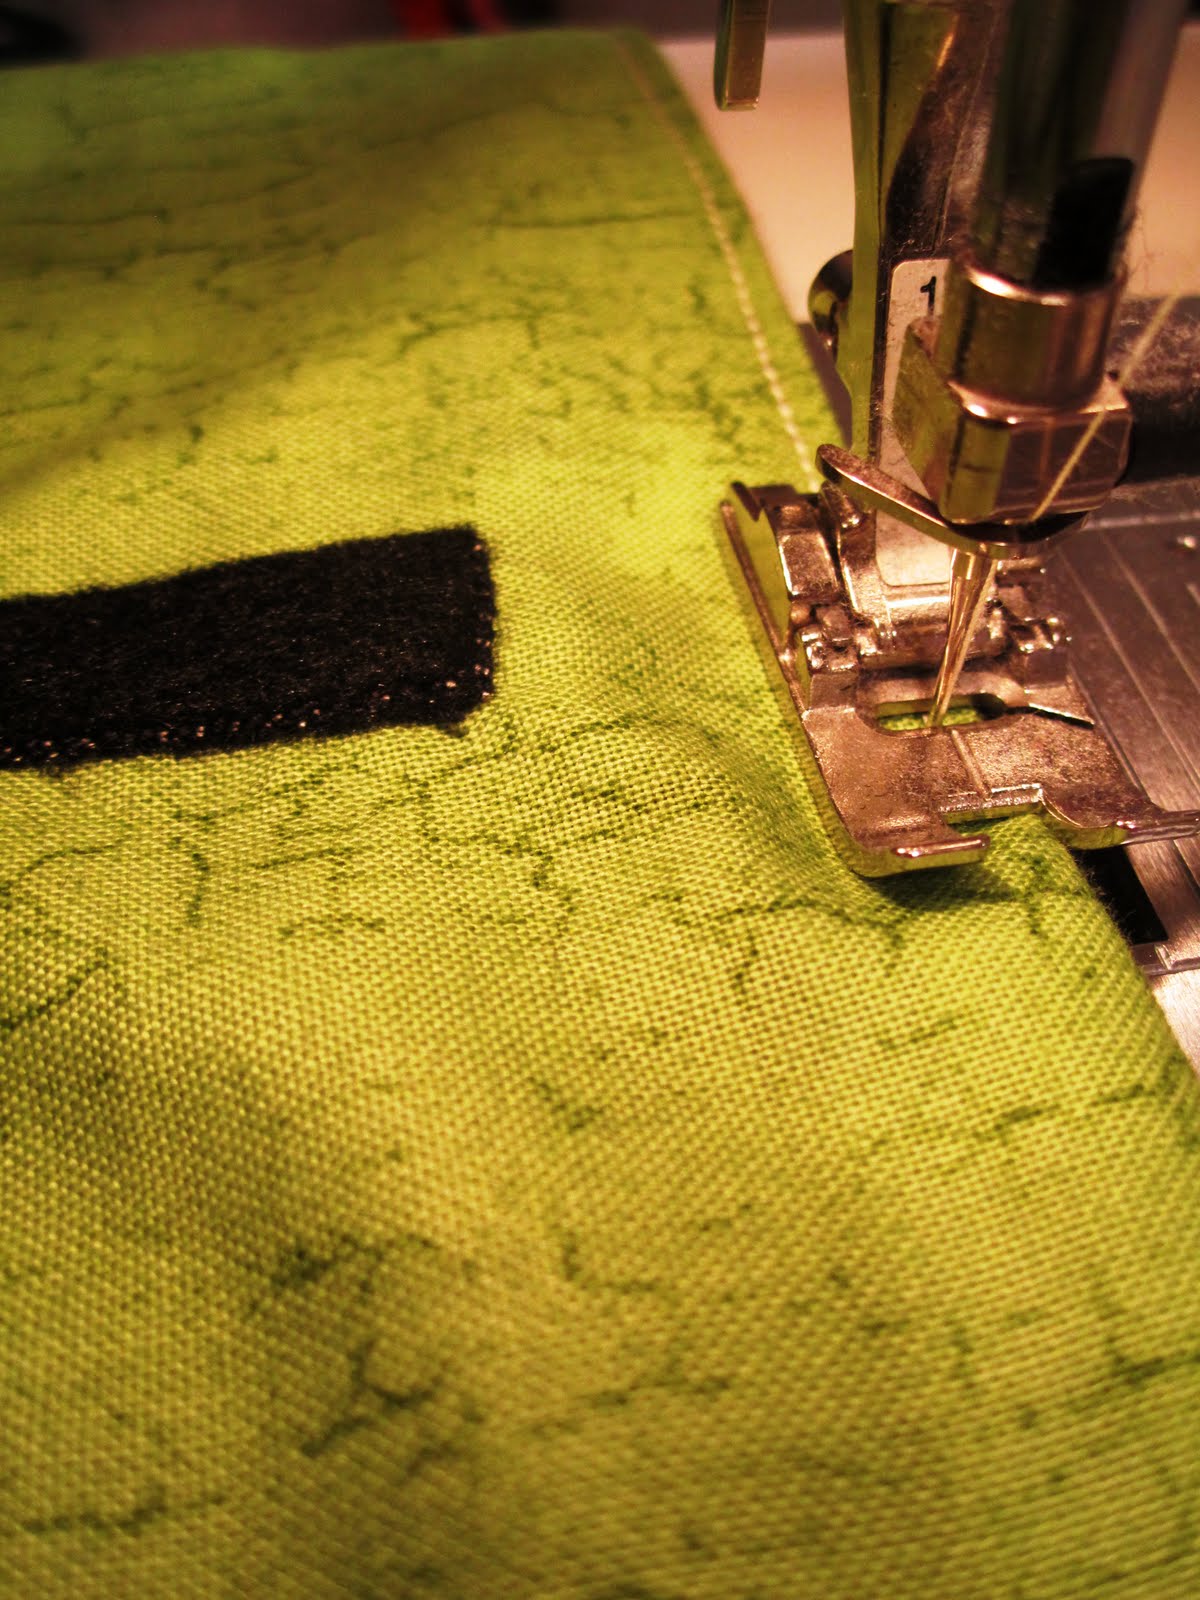 13. Roll up the game board and figure out where your button should be. Sew it on as you marked.
  14. Add your "X"'s and "O"'s and off you go.

 It is still available in Germany and the only one that was reasonably priced that I could find on eBay was straight from Germany. I got to put all the sticker decals on myself so it was new right out of the box. Definitely worth the eBay battle! On an additional note - just for fun sometime, google Looping Louie and check out all the National Tournaments for adults for this game. It really has quite the cult following! Makes me laugh.
 While I was searching all over for Looping Louie, I found this game that is just like it - Bobbin' Bumblebee. The bumblebee (named Robin according to the directions) flies around trying to steal your honey discs. The last player with honey wins. I didn't get a close up picture of it, but the paddles on this game are little honey dippers - very cute!
  The bee is a little harder to flip around than Louie, but still it's a lot of fun. I wasn't going to buy it after I won the Looping Louie bid, but the boys begged for it. Now I'm glad I have both. This one came from eBay as well from a game store in England. It took nearly six weeks to get through customs - thank you terrorists who want to send packages to the US through the mail :-).
 Very easy and relatively quick . . . a few strands of jute/twine (is there a difference?), a couple of raffia bows on the ends, strips of properly colored fabric and then just hang some fun seasonal things from it. A handmade witch (of course) . . .
 . . . and some pumpkins and bats. And there you have a Halloween garland.

By the way . . . I whipped out another 5 (yes, five) Feelin Witchy Dish Towels this weekend. L O V E them!


 Yoyos completed
Goal: 1008
Current: 280
Yoyos completed
Goal: 1008
Current: 280


